
Are you fascinated by the art of metal casting and eager to try it out in the comfort of your home? With the right tools and safety measures, DIY metal casting can be a rewarding hobby that allows you to create custom pieces and intricate designs. Whether you're looking to craft jewelry, décor items, or small sculptures, this guide will provide you with essential tips to get started on your small metal casting projects.
Understanding the Basics of Metal CastingBefore diving into a project, it's crucial to understand the basics of metal casting. This process involves pouring molten metal into a mold where it solidifies into the desired shape. Common metals used for small projects include aluminum, brass, and bronze due to their relatively low melting points. Knowing the properties and melting points of your chosen metals will help you achieve better results.
 Safety First
Working with molten metal can be dangerous if proper precautions are not taken. Always wear protective gear such as gloves, goggles, and a heat-resistant apron. Ensure your workspace is well-ventilated to avoid inhaling any fumes. Keep a fire extinguisher nearby and be aware of emergency procedures in case of accidents. Safety is paramount, so never compromise on these measures.
Gathering Essential Tools and MaterialsTo get started with metal casting at home, you'll need some essential tools and materials. These include a furnace or a simple homemade foundry, a crucible to hold and pour the molten metal, molds made from sand or investment material, and a heat source like propane or charcoal. Having the right equipment will make your casting experience smoother and more enjoyable.
 Creating Your Molds
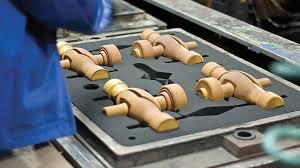
The mold is a critical component in metal casting as it shapes the final product. For beginners, sand casting is a popular method that uses moist sand to form the mold around a pattern. More advanced techniques like lost wax casting require creating a wax model which is then encased in a plaster mold. Experiment with different mold-making methods to find what works best for your projects.
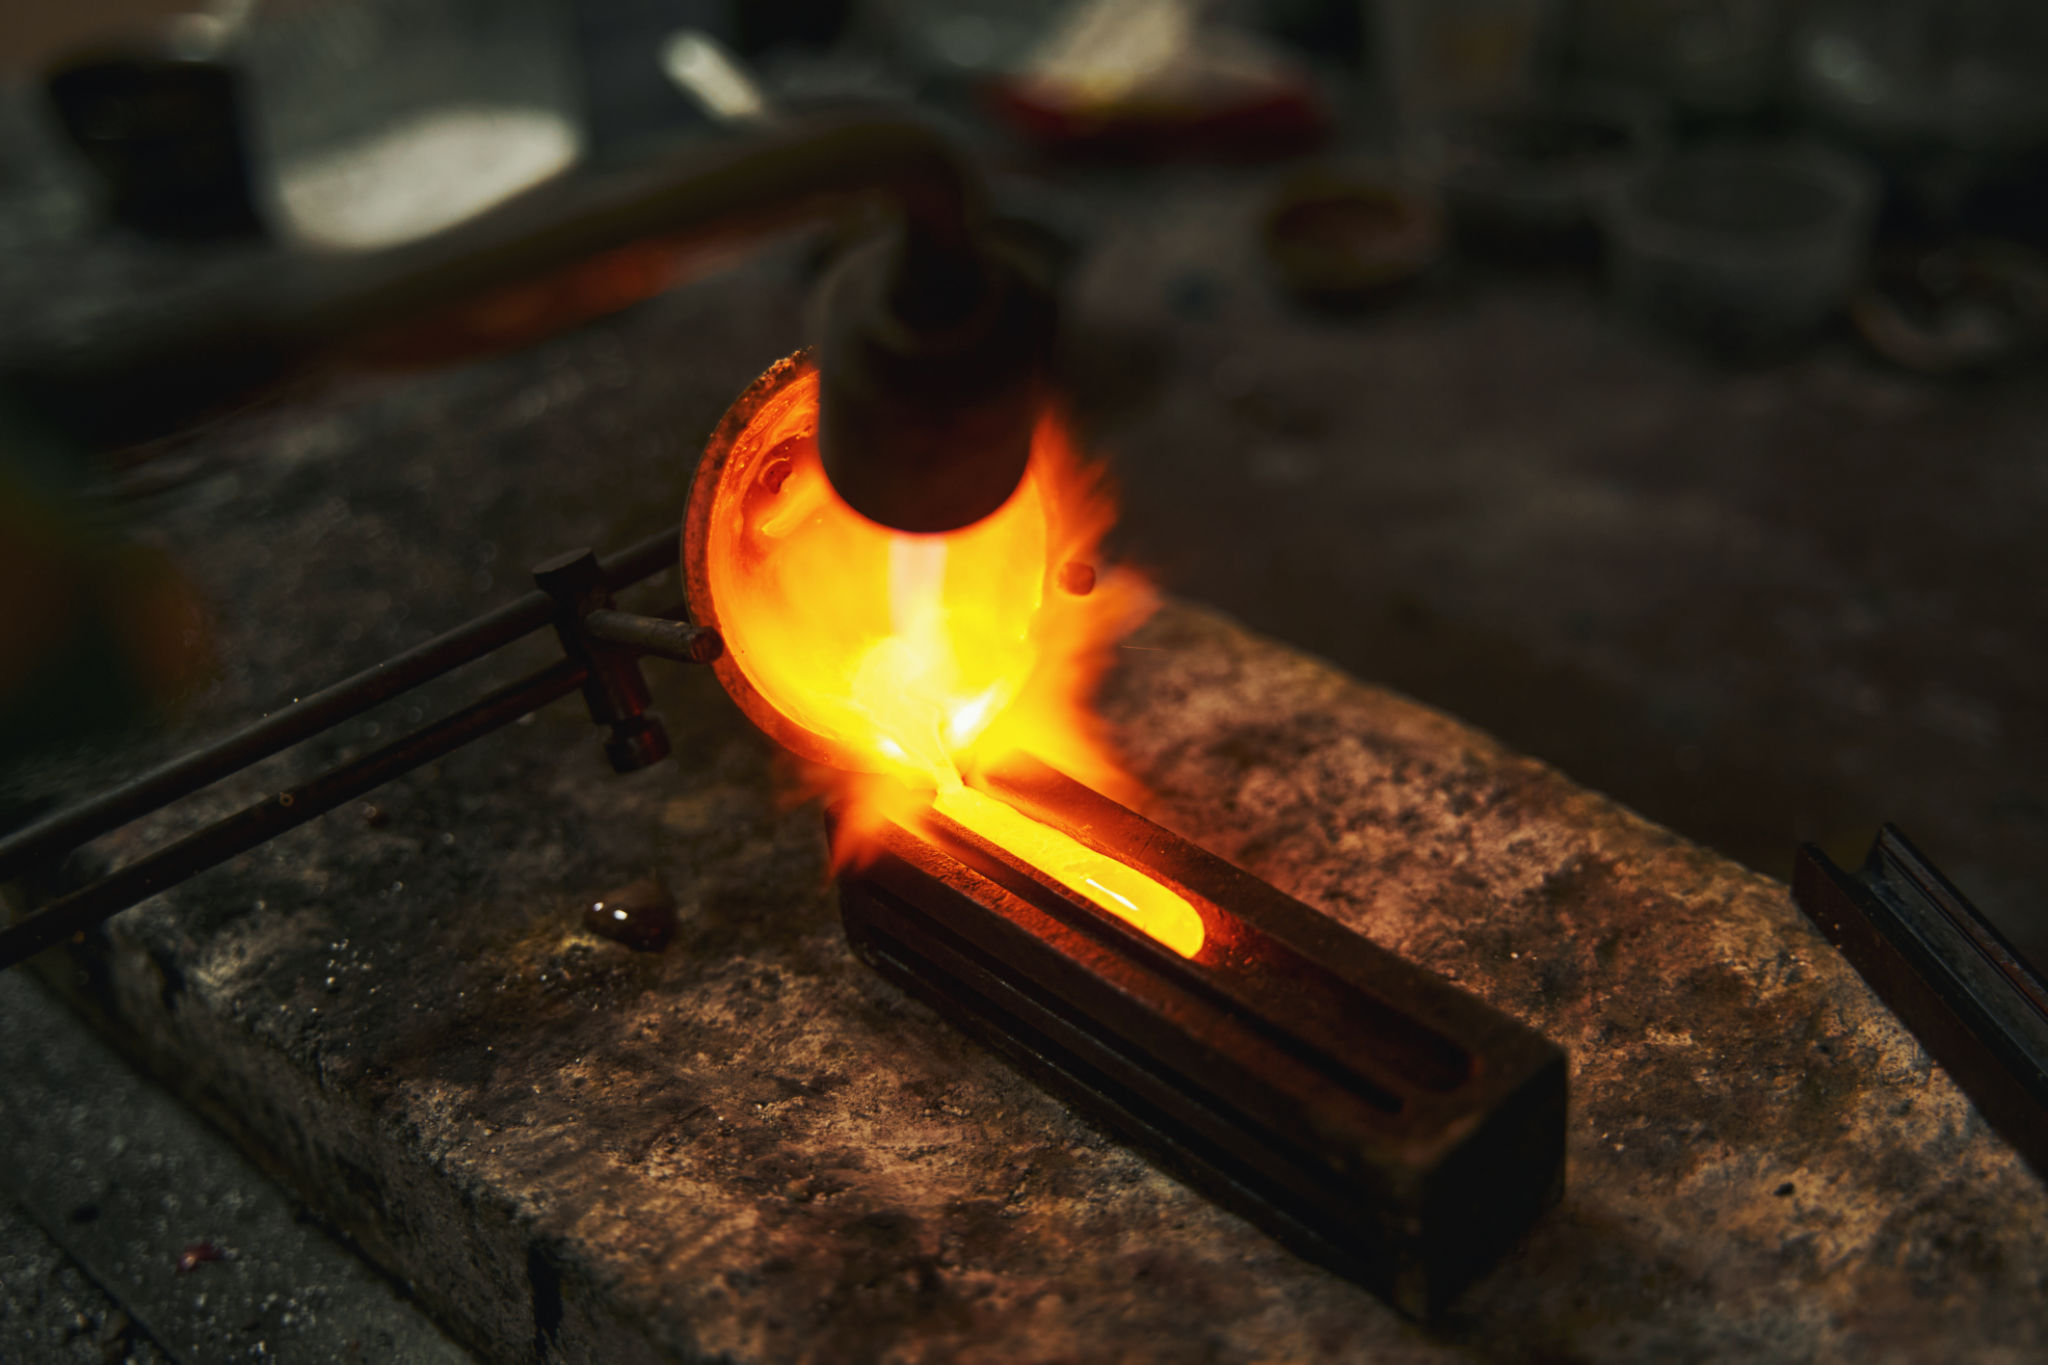
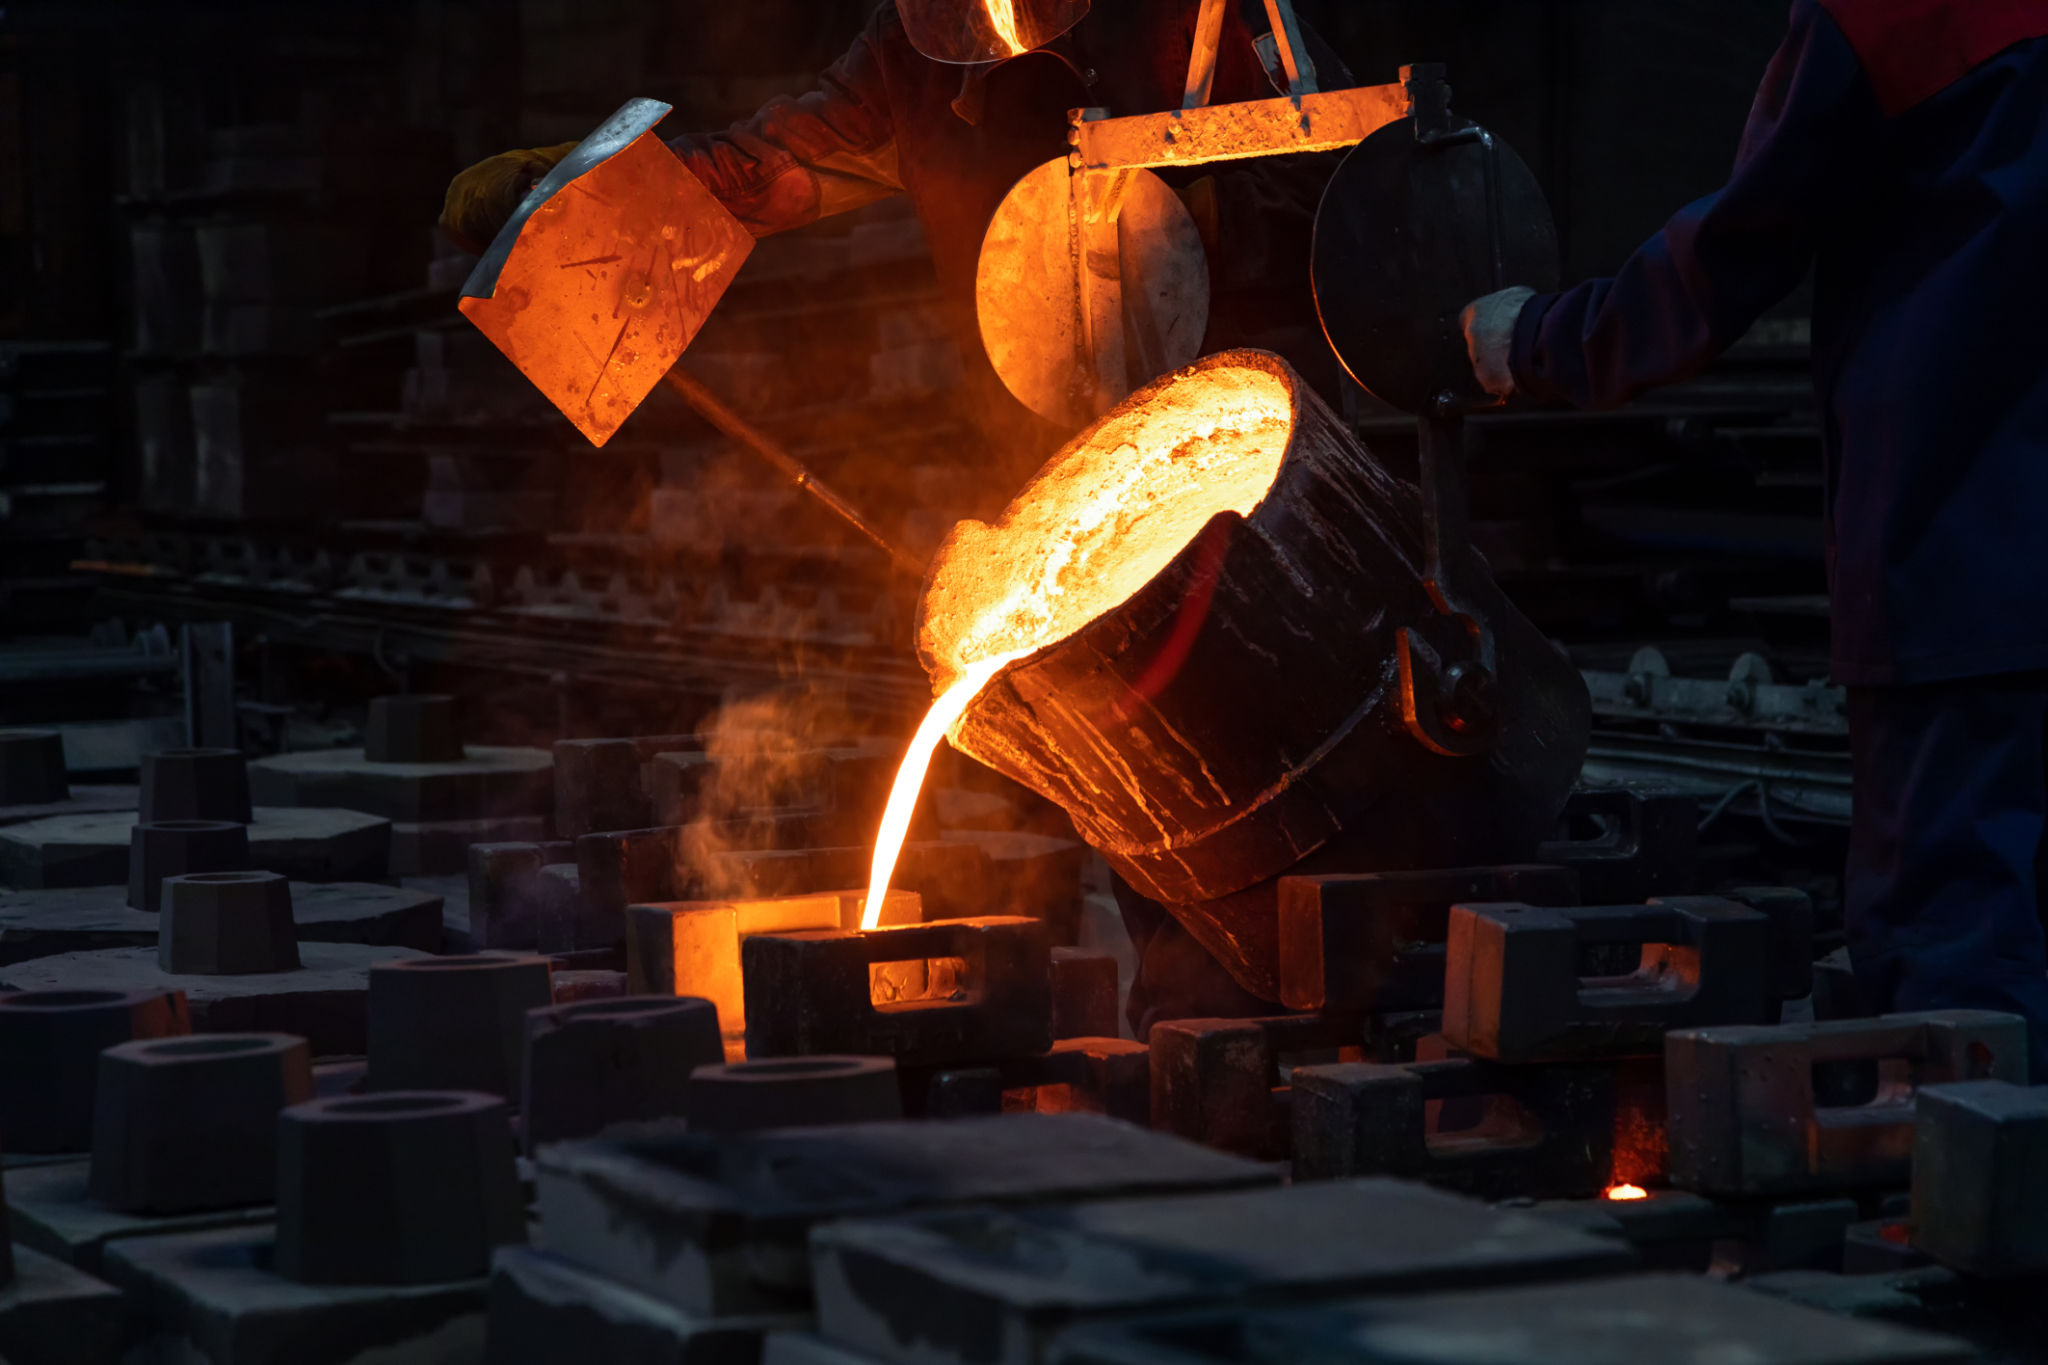
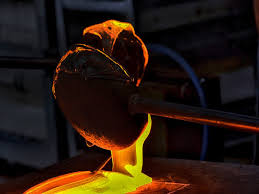
Melting and Pouring the MetalOnce your mold is ready, it's time to melt the metal. If you're using aluminum, a simple setup with a propane torch can suffice. For metals with higher melting points like brass or bronze, you might need a more powerful furnace. Carefully heat the metal until it reaches its melting point, then pour it into the mold steadily to avoid imperfections.
 Finishing Touches
After the metal has cooled and solidified, remove it from the mold carefully. The raw casting may require cleaning and finishing to enhance its appearance. Use files, sandpaper, or polishing tools to smooth out rough edges and bring out the shine in your piece. Patience and attention to detail are key during this phase.
Experimenting with DesignsOne of the joys of DIY metal casting is experimenting with different designs and techniques. Start with simple projects and gradually take on more complex pieces as you gain confidence. Consider personalizing items by adding textures or incorporating mixed media elements such as glass or wood.

Embarking on DIY metal casting projects can be both challenging and rewarding. With practice and creativity, you'll be able to produce unique metalwork pieces that reflect your style and skills. Remember to always prioritize safety and enjoy the process of bringing your ideas to life through metal casting.

Copyright 2026 © GEEL TECH . All Right Reserved


Share This News